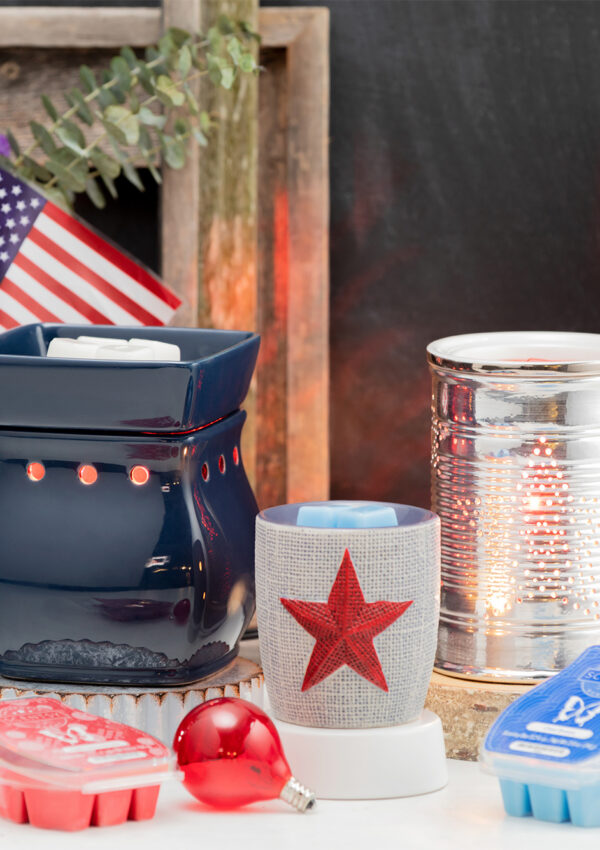
The Botanical Haven spread in our Spring/Summer 2017 Catalog features Warmers inspired by the life and light of the outdoors. But rather than bring the outdoors in, why not bring the indoors out by upcycling your old or broken Warmers? Here are some ideas to get you started!
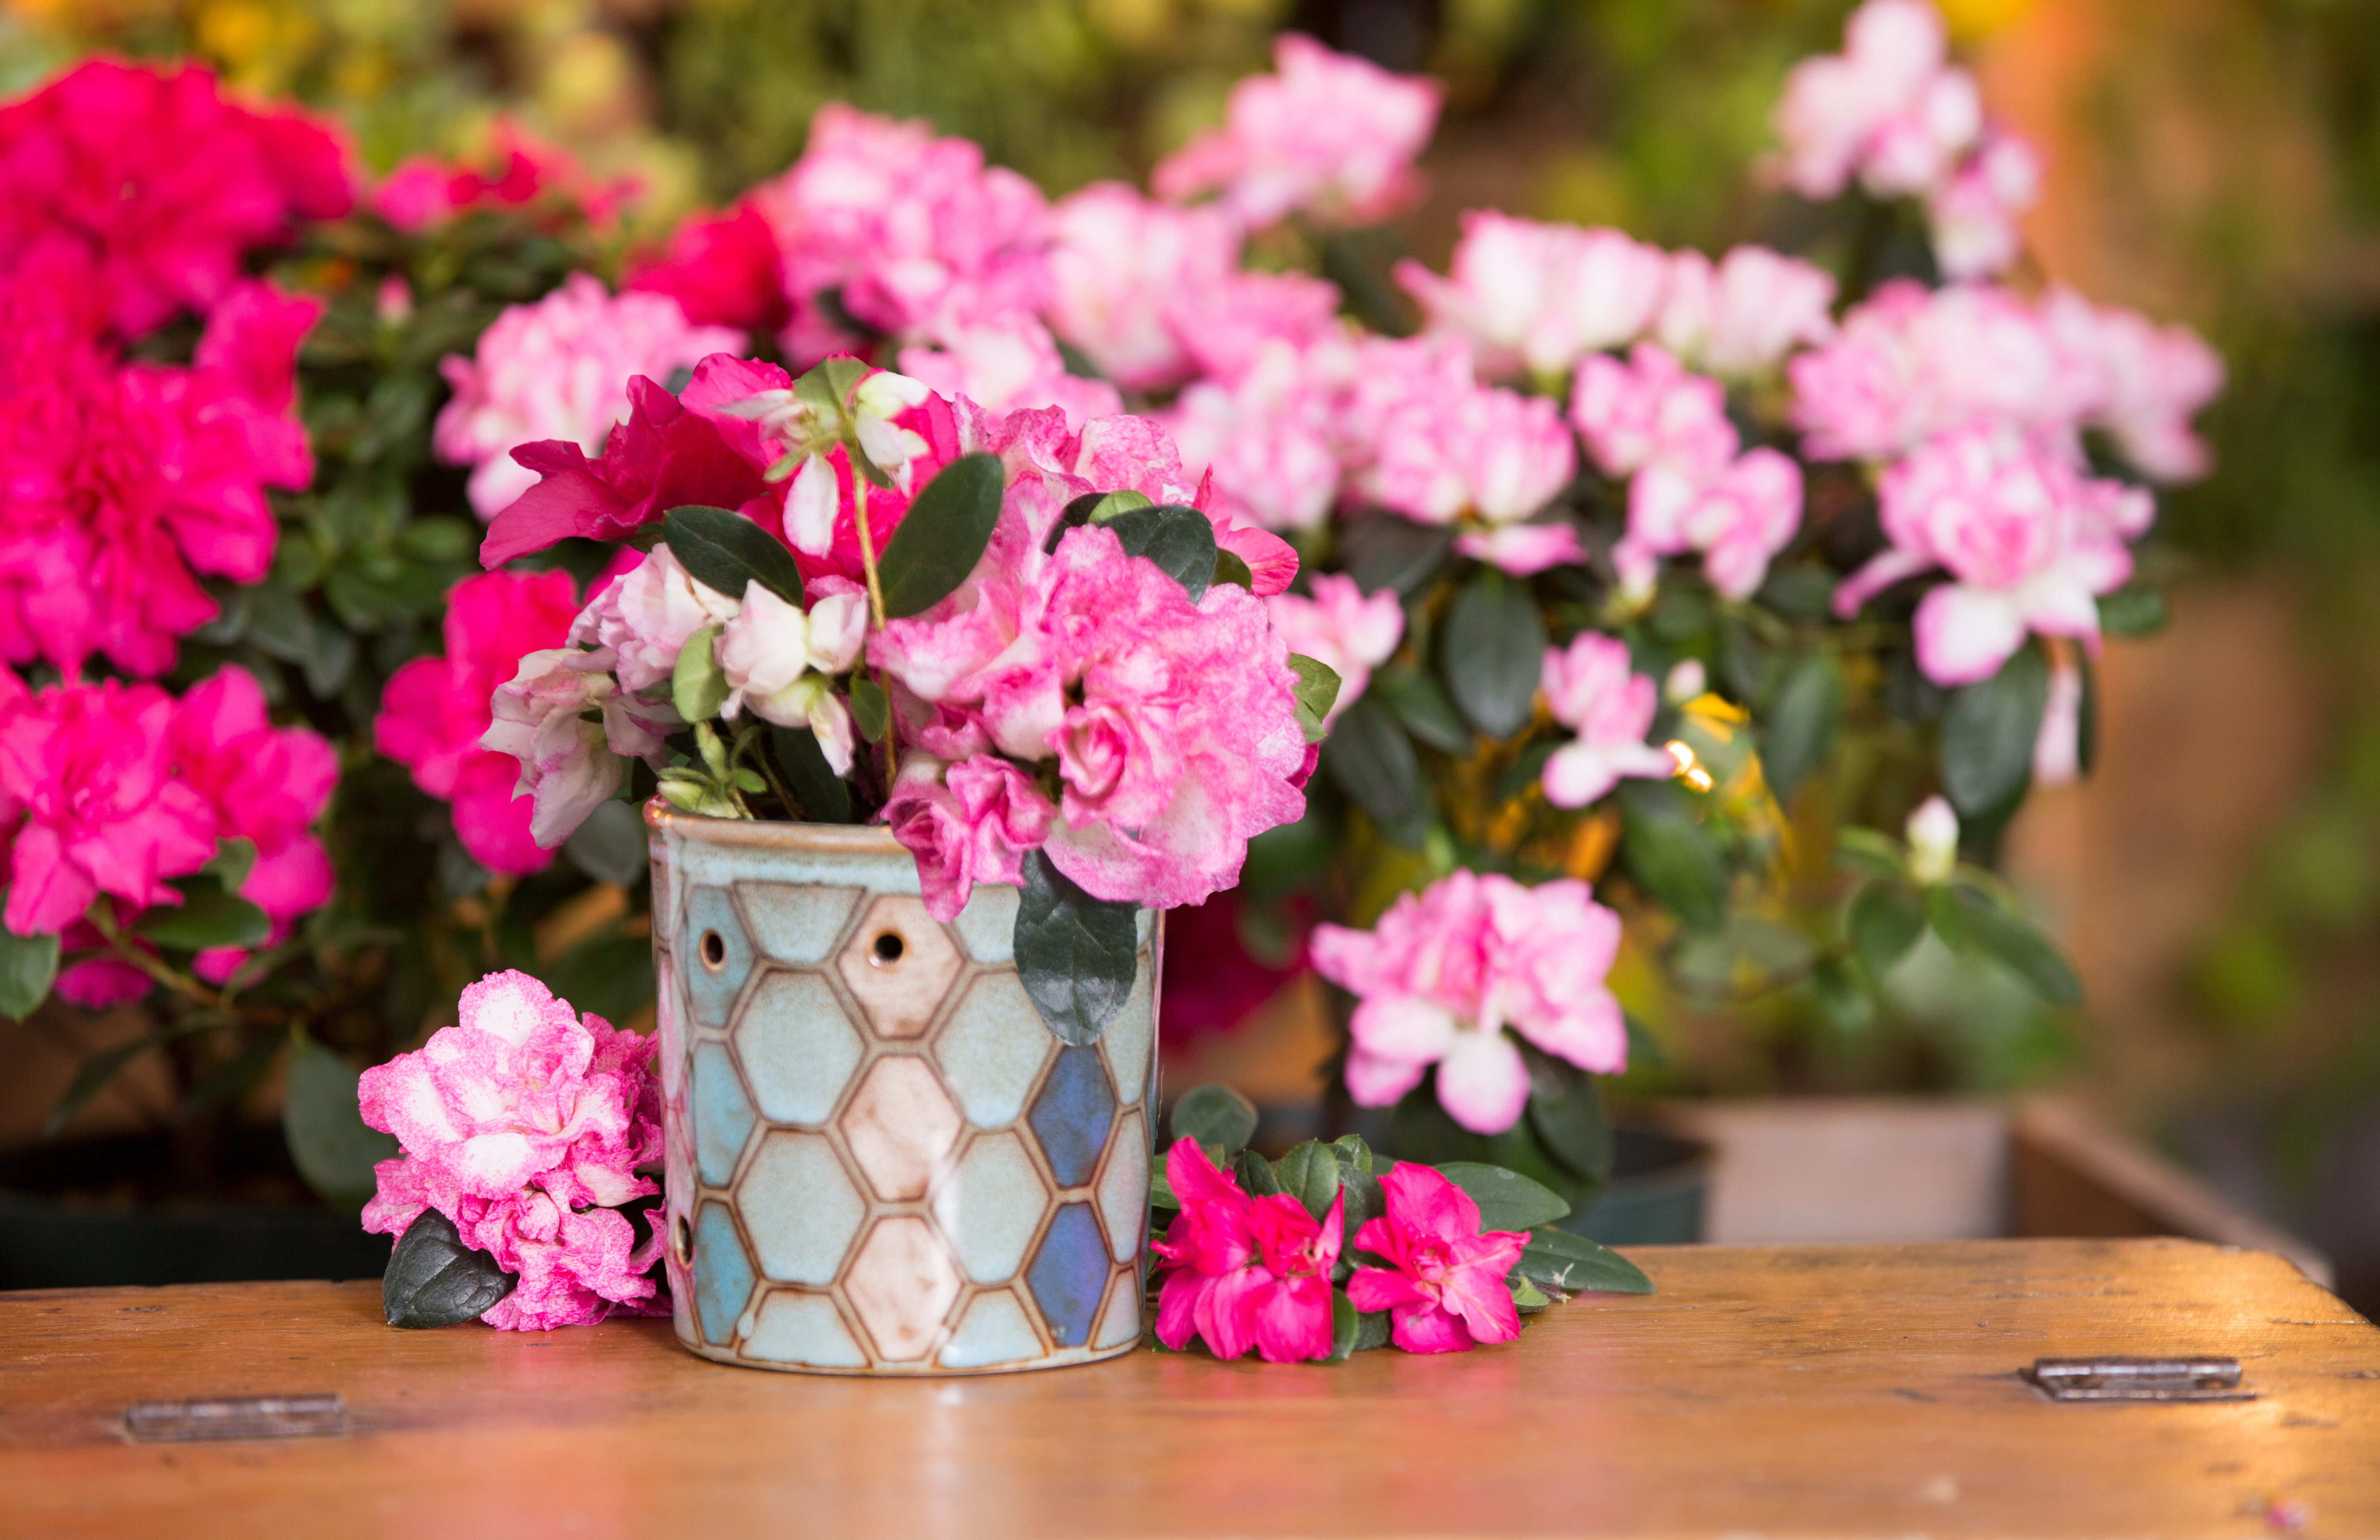
Create fabulous flower pots
You’ll need:
- Warmer
- Scissors
- Soil
- Potted plant or seeds
- Gardening gloves (optional)
- Unplug your Warmer.
- Remove the felt bottom.
- Remove the lightbulb.
- Use sharp scissors to cut the electrical cord, and carefully remove the lightbulb socket.
- Fill the Warmer with soil and a pretty potted plant.
- Place the Warmer on the dish if you want a drip tray.
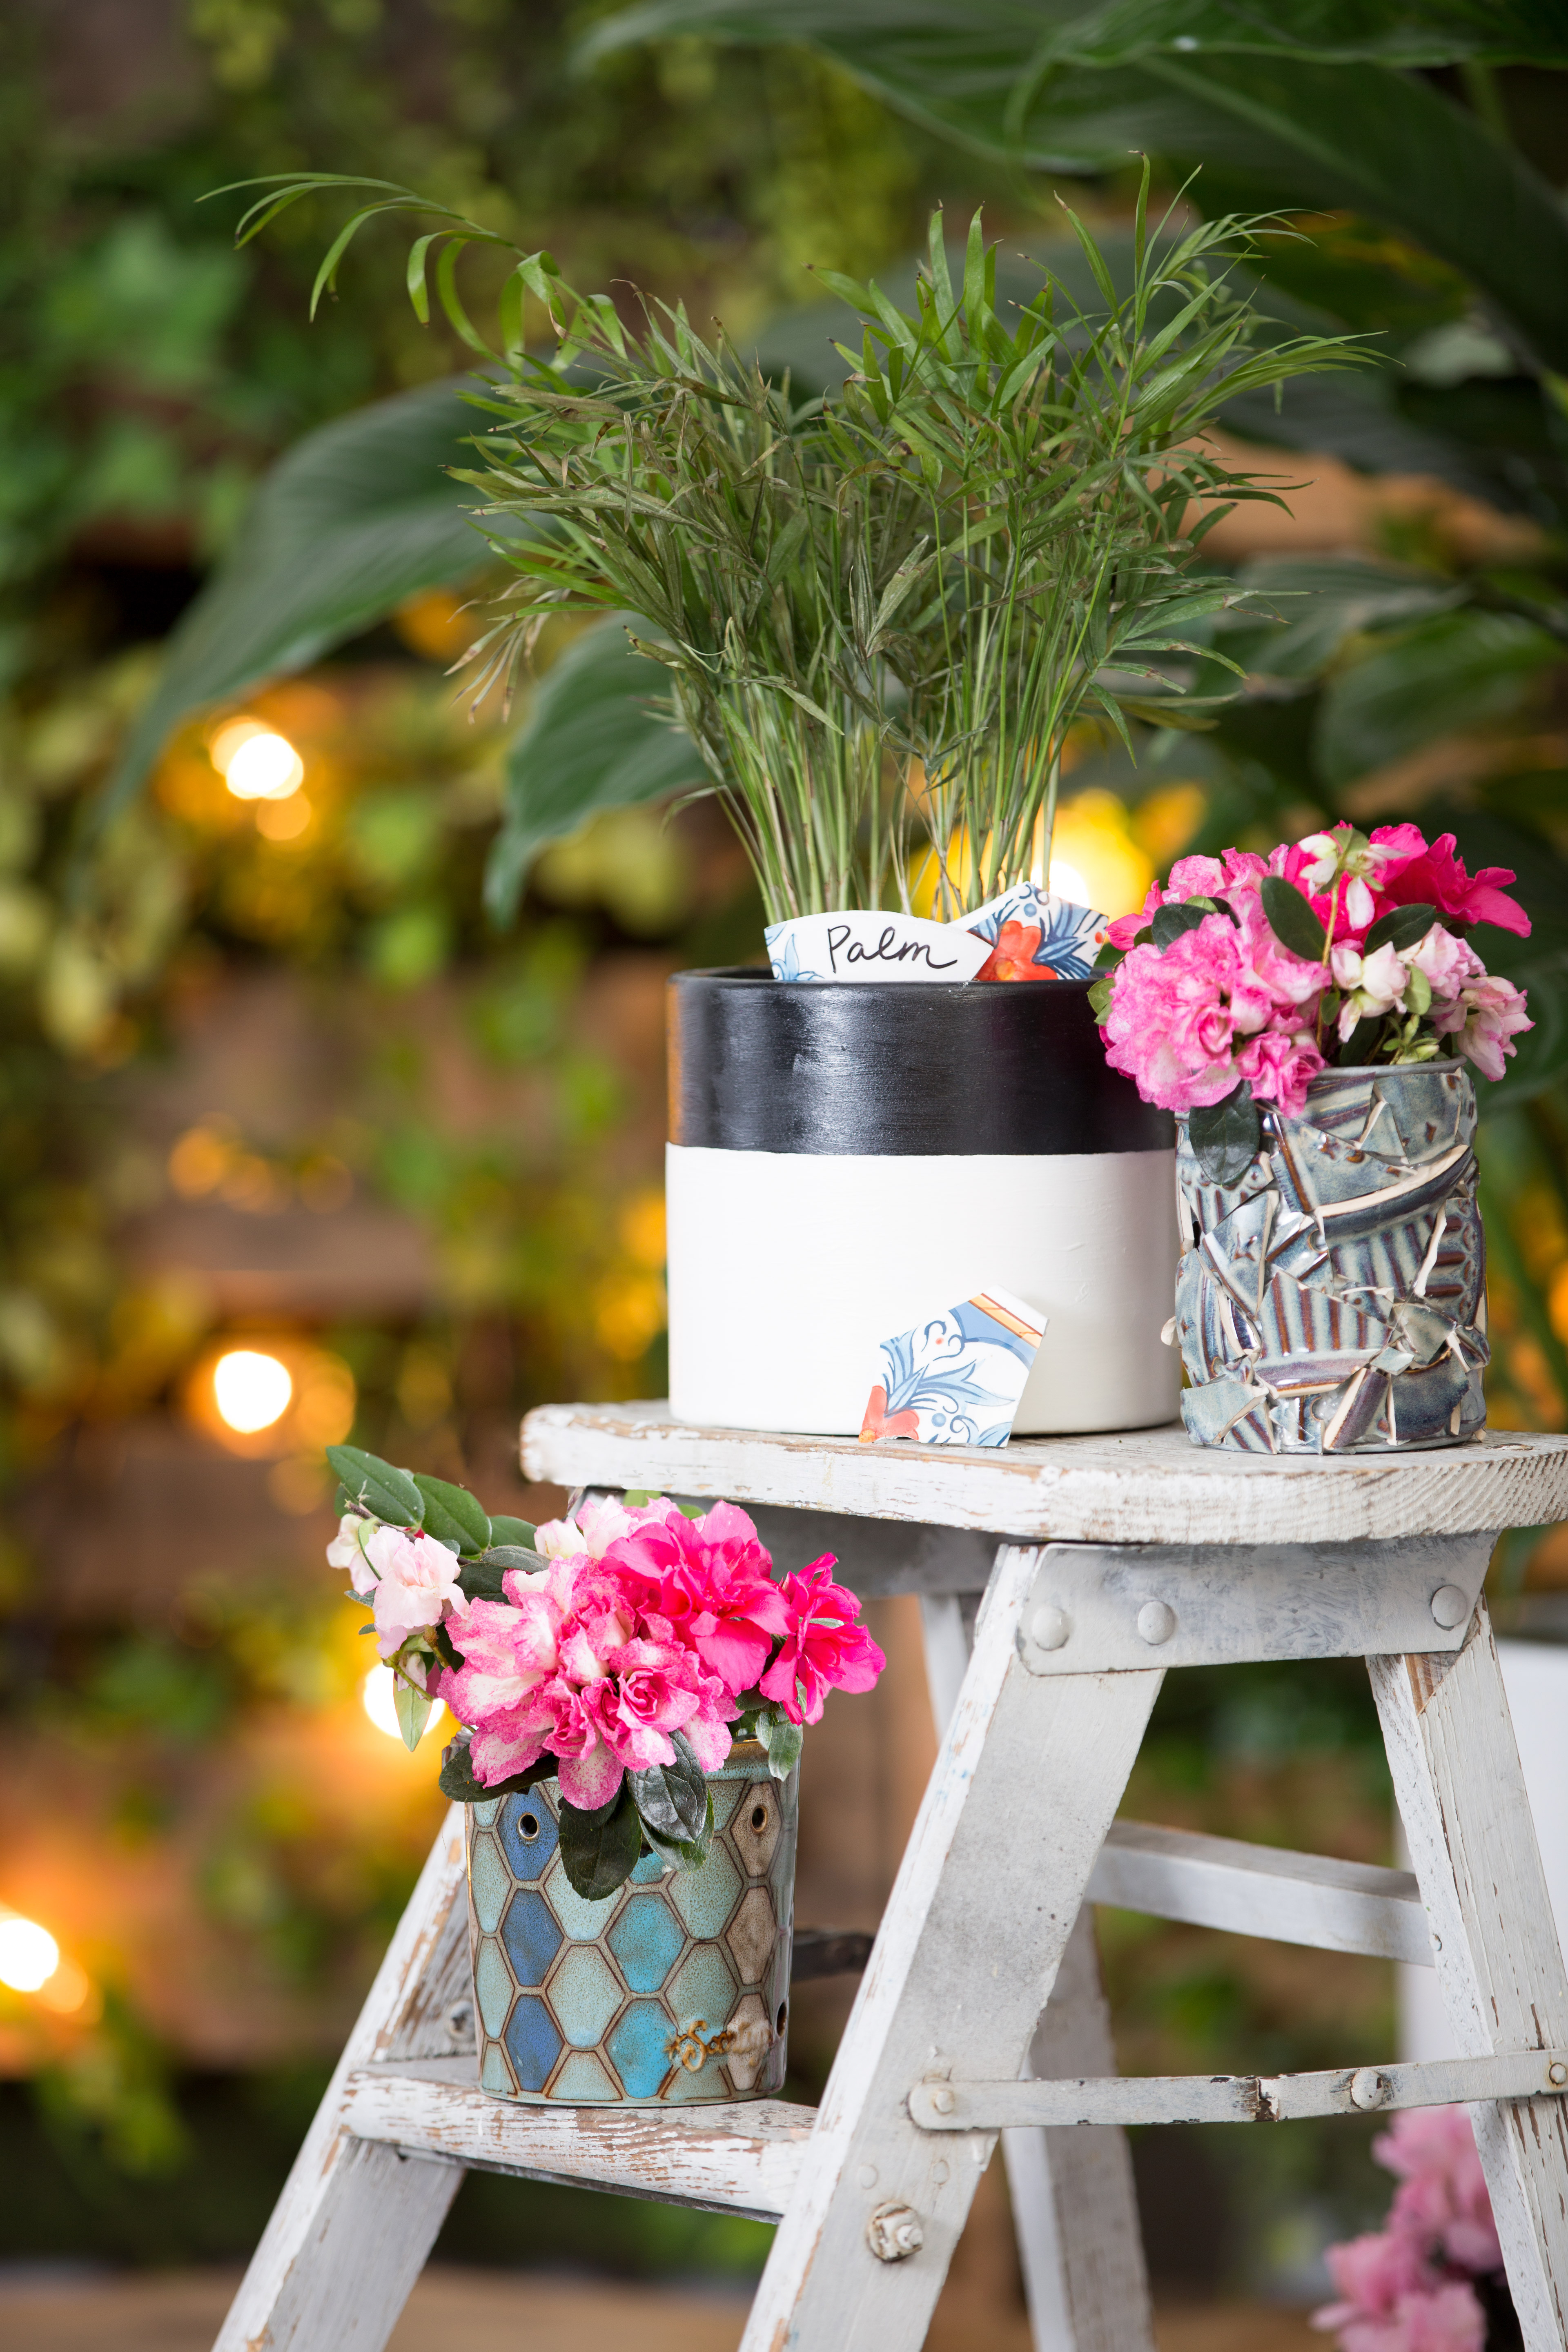
Make a “scentsational” stepping stone
You’ll need:
- 2-3 Warmers (they can even be cracked or broken)
- Pillowcase
- Protective gloves
- Protective eyewear (sunglasses work in a pinch)
- Hammer
- 9- or 12-inch round plastic basin
- Kraft paper
- PVA glue diluted with water in a ratio of 1:1
- 1 package of concrete or tile cement
- Tape
- Tile grout
- Water
- Newspaper
- Towel or rag
- Place 2 or 3 old or broken Warmers in a pillowcase.
- Wearing protective gloves and eyewear, smash the Warmers with the hammer.
- Cut a piece of kraft paper to fit the bottom of the plastic basin.
- Wearing protective gloves, sort through the Warmer shards and create a pattern on the kraft paper. When you’ve created a pattern you love, glue each piece face-down on the paper.
- When the glue has dried, place the kraft paper with the mosaic pattern facing up in the basin.
- Mix together the concrete and water in another container, following the package instructions.
- Pour the concrete inside the plastic basin over your mosaic, about 1 to 2 inches. (You may want to oil or grease the sides with petroleum jelly to make it easier for the stone to slide out when it’s dry.)
- Smooth the surface and allow it to set in a cool, dry place for 1 or 2 days .
- Take out the mold and remove the kraft paper.
- Use a towel or rag to clean any remains of glue or paper.
Build a beautiful birdfeeder
- Warmer
- Scissors
- 2 Warmer dishes
- Empty 1-liter plastic water bottle
- A drill with a ¼-inch drill bit
- Eye bolt, ¼ inch by 5 inches
- Two ¼-inch nuts to fit eye bolt
- 48 inches of picture-hanging wire
- Bird seeds
- Unplug your Warmer.
- Remove the felt bottom.
- Remove the lightbulb.
- Use sharp scissors to cut the electrical cord, and carefully remove the lightbulb socket.
- Cut the top off the empty water bottle so it’s slightly shorter than the Warmer. This will be used to hold the seeds.
- Poke a few holes in the water bottle to let the seeds out, and place it inside the Warmer.
- Cut or drill a hole in the bottom of the water bottle and the center of both Warmer dishes.
- Screw the eye bolt through the water bottle and one of the Warmer dishes. Use one of the nuts to secure the bolt to the Warmer dish.
- Attach wire to the eye bolt.
- Run the wire through the other Warmer dish.
- Fill the water bottle with bird seeds, hang up and enjoy!
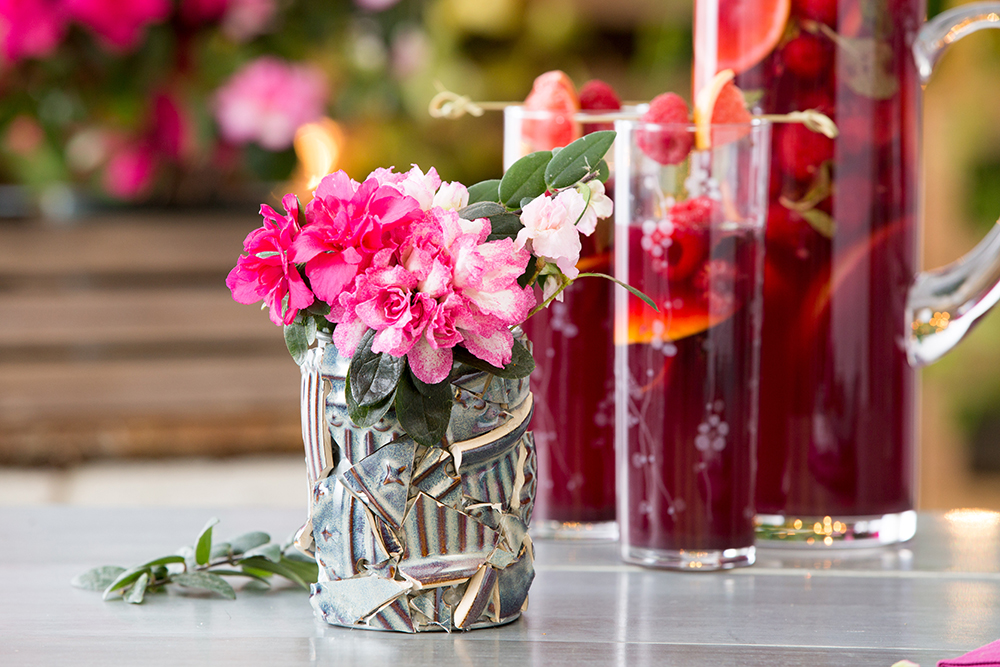
Share YOUR ideas for upcycling Warmers in the comments section!
